
This week, the first week of my summer holiday, I had a really cool Serigraphy or "Silkscreen" printing course with my mum at an art school in Zurich. The whole process was so fascinating and the results all looked so stunning!
In Serigraphy printing you have a very thin threaded sieve. The threads were very close together. Thinner ones to print on paper and larger spaces in between to print on textiles, because the colour pigments are larger.
These sieves are coated with a UV-reactive coating that hardens in UV light. In the final part of preparing your sieve is, that you have to block out the parts of the canvas where you later want the colour to get through. You can do this either by putting black paper on these spots or transparent paper on which you've painted with light-blocking, dark colours or on which you've printed with a normal printer.
After hardening the coating with UV light and rinsing the remainings off with water and drying the sieve, you can start printing.
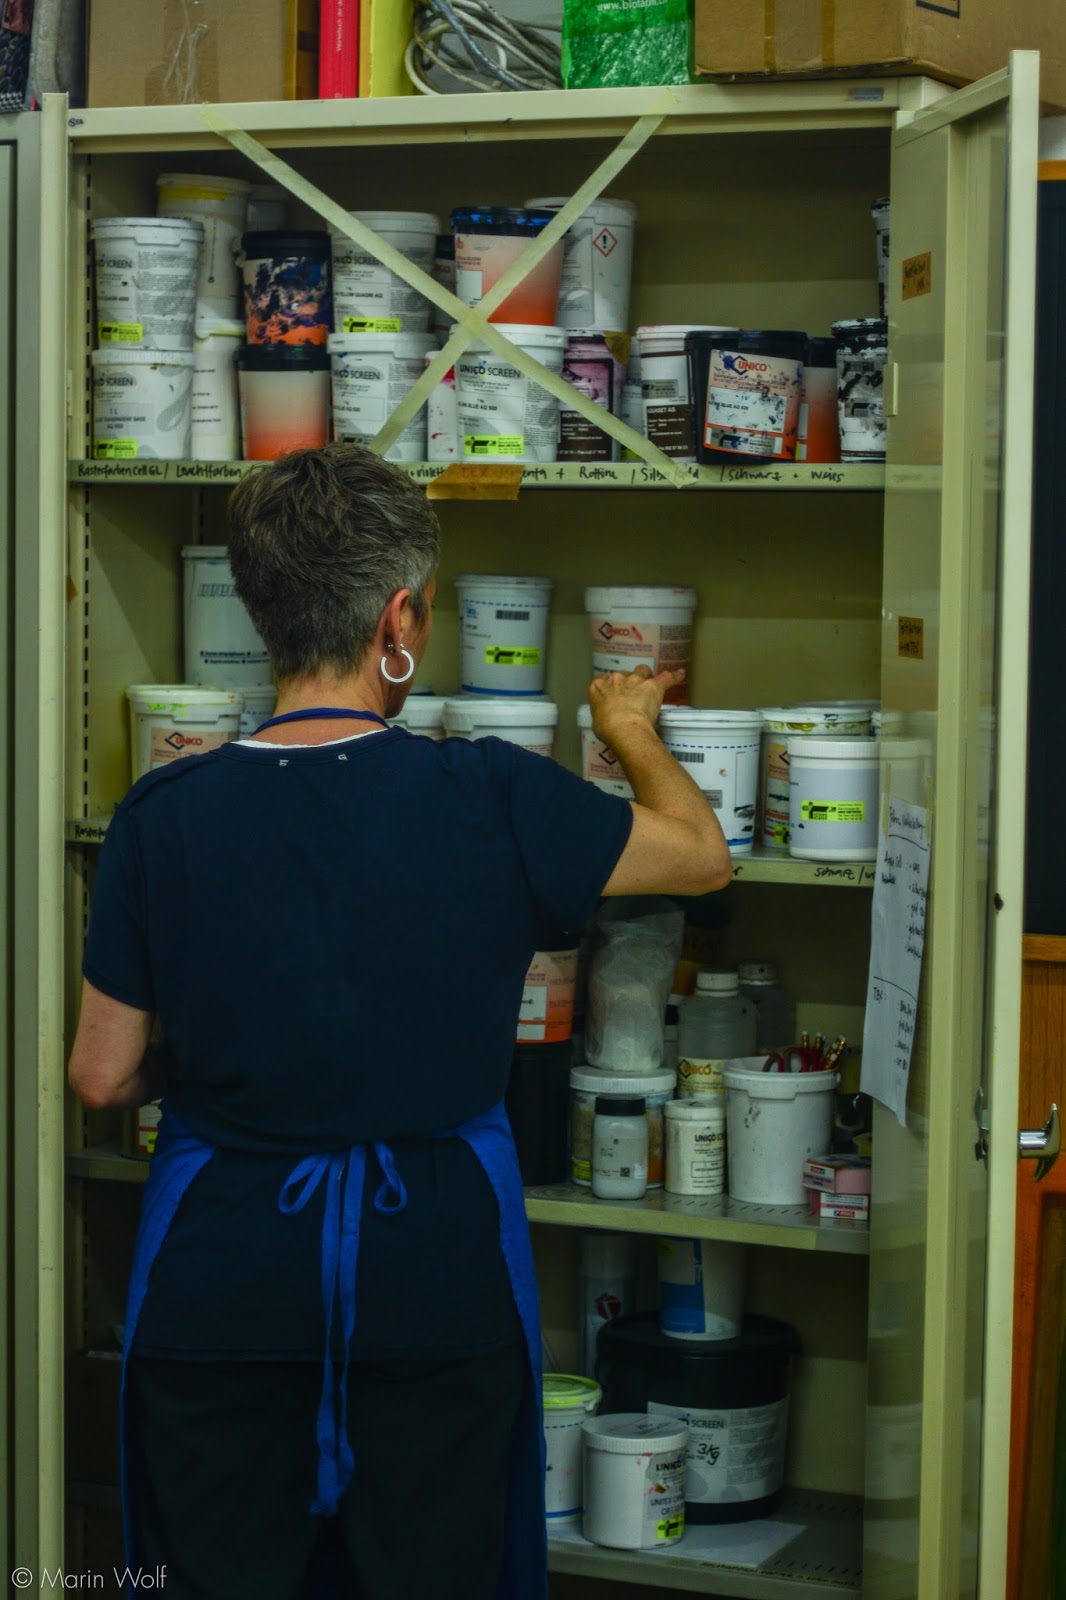
You put the colour you want onto the sieve, flood the bit you want to print and then, with pressure, you print the picture!
The cool bit is that you can print multiple layers, that's the point where it really starts to get interesting because you can combine colours and get a depth-effect!
In Serigraphy printing you have a very thin threaded sieve. The threads were very close together. Thinner ones to print on paper and larger spaces in between to print on textiles, because the colour pigments are larger.
These sieves are coated with a UV-reactive coating that hardens in UV light. In the final part of preparing your sieve is, that you have to block out the parts of the canvas where you later want the colour to get through. You can do this either by putting black paper on these spots or transparent paper on which you've painted with light-blocking, dark colours or on which you've printed with a normal printer.
After hardening the coating with UV light and rinsing the remainings off with water and drying the sieve, you can start printing.
You put the colour you want onto the sieve, flood the bit you want to print and then, with pressure, you print the picture!
The cool bit is that you can print multiple layers, that's the point where it really starts to get interesting because you can combine colours and get a depth-effect!


No comments:
Post a Comment